DIY Organic Pots for Your Indoor Herb Garden
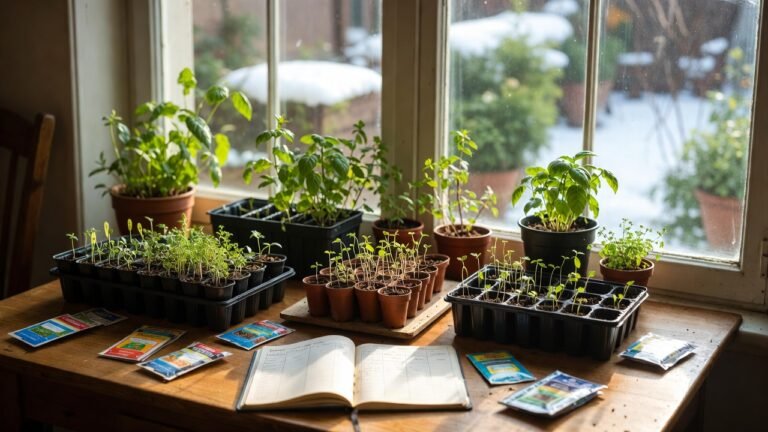
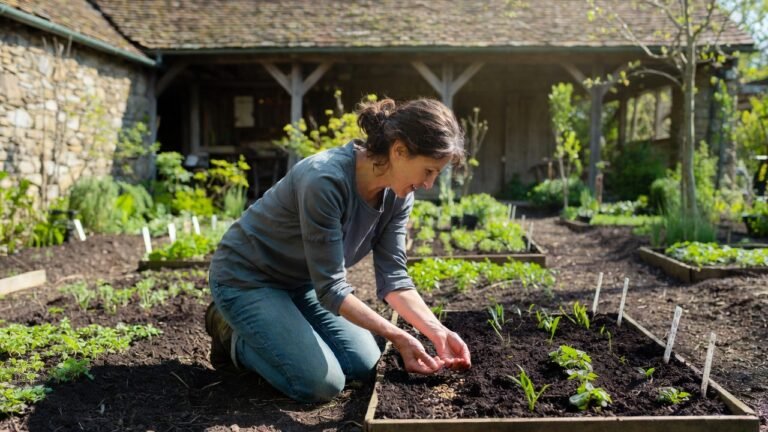
Starting herbs from seeds indoors is a rewarding way to kick off your growing season, ensuring strong seedlings ready for transplanting when the time comes. Using everyday recycled items for pots keeps things simple, affordable, and environmentally sound.
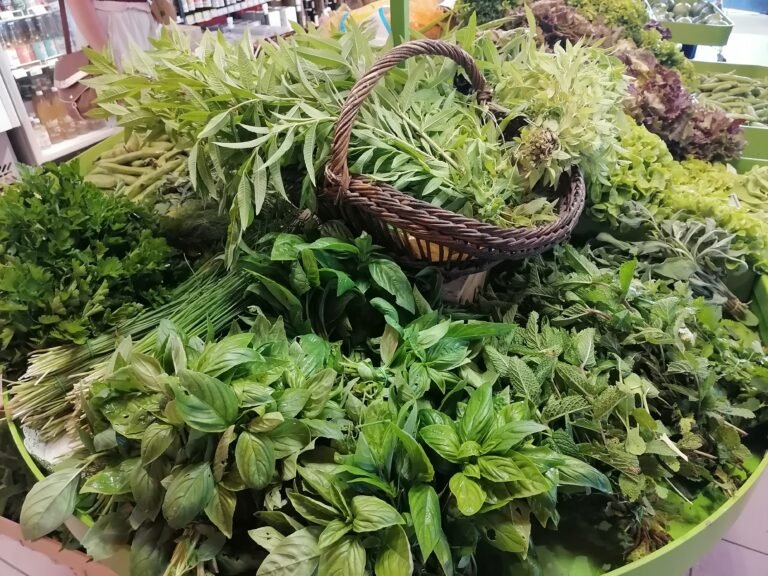
These homemade containers support gentle root development for herbs like basil, thyme, or parsley, allowing you to sow in limited spaces such as windowsills or shelves. Below, I’ll outline reliable methods refined over years of indoor seed starting, focusing on materials that are easy to source and prepare, including dedicated options for old cups.
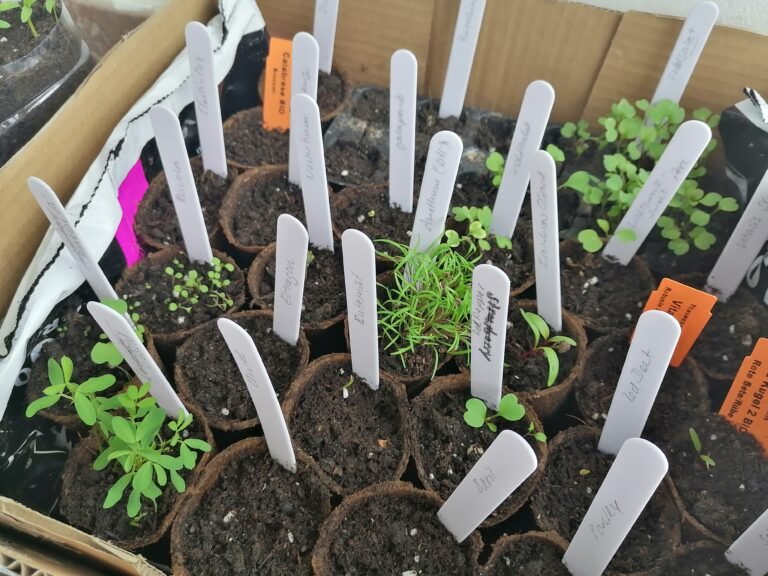
You can label any type of pot with these printable herb labels, they come in over 20 different designs and sizes, you will find a label for any pot.

1. Newspaper Pots: Simple and Decomposable
Newspaper pots are ideal for sowing herb seeds because they break down over time, letting roots expand without disturbance during transplant. They’re lightweight and perfect for grouping on trays under grow lights.
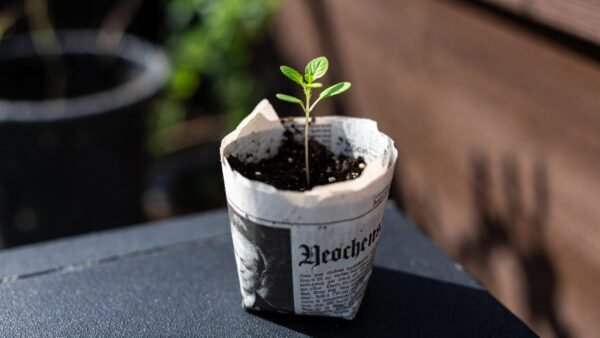
This is a great way to create your own biodegradable plant pots using recycled materials. You can later plant them directly into the soil along with your seedlings. Take a bottle with the desired diameter and place it on your newspaper, layering several sheets. Use the bottle to determine the desired height of your pots, then cut newspaper strips lengthwise with scissors. The strips should be about one-third taller than the final height you want. Wrap a strip around the bottle so that one-third extends past the bottom. Fold the overhanging part inward. It helps to use a wine bottle, for example, with a slightly concave bottom. Press the folded base of your plant pot gently into that indentation. Now slide the folded newspaper pot off the bottle and press the bottom firmly. Fill it with soil. Done!
For herb seeds, use four to five layers for durability during the germination period. Moisten the soil lightly after sowing to encourage even sprouting, and cover with a clear lid to maintain humidity until shoots appear.
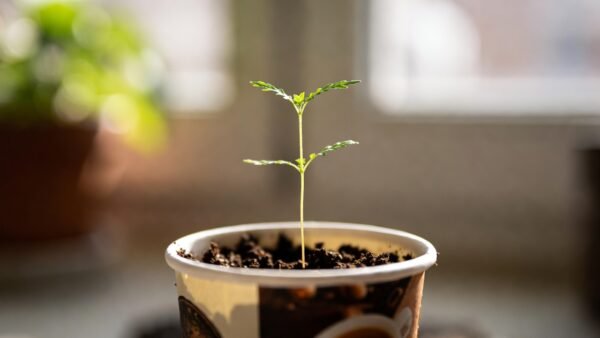
2. Paper Coffee Cups: Handy for Quick Starts
Paper cups from coffee runs or office bins offer a sturdy option for indoor sowing, holding up well for the few weeks needed for herb seedlings to establish.
Gather clean cups and make several small holes in the base for water to drain. Load them with a seed-starting mix, plant your herb seeds at the recommended depth, and position in a bright spot. When seedlings are ready to move, either trim away the bottom to plant the rest intact or peel off the cup entirely and compost it.
These are especially useful for herbs that germinate quickly, as the cups can be labeled easily and arranged in rows for efficient care.
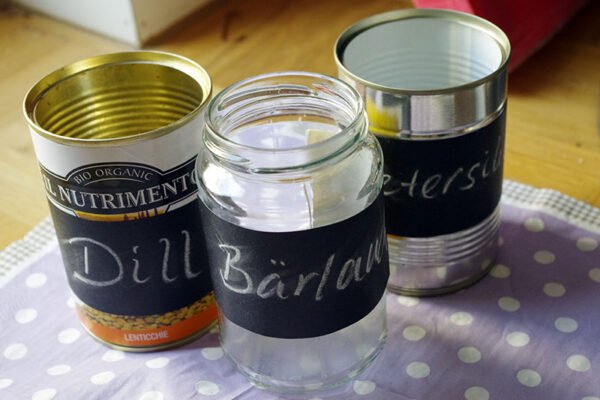
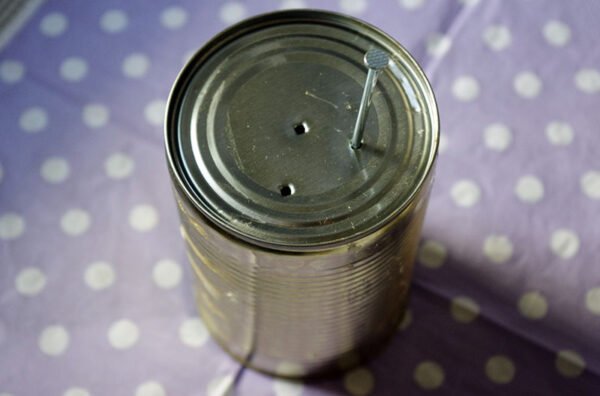
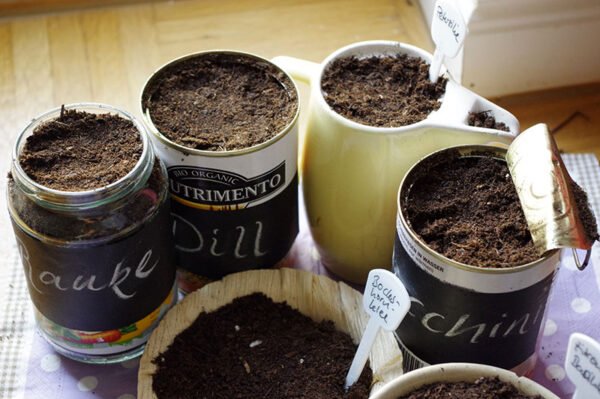
3. Tin Cans: Durable Choices for Steady Growth
Tin cans provide a more robust container for indoor herb seed starting, suitable for herbs that might need a bit more time to develop roots before transplanting.
Select empty cans from your kitchen, rinse them well, and smooth any rough edges. Use a hammer and nail to create four to six drainage holes in the bottom. If there’s any rust, apply a safe coating or liner to protect the soil. Fill with nutrient-rich mix, sow your seeds, and water gently.
These cans can be reused season after season, making them a practical pick for ongoing indoor setups. Group them on a tray to catch excess moisture and rotate for uniform light exposure.
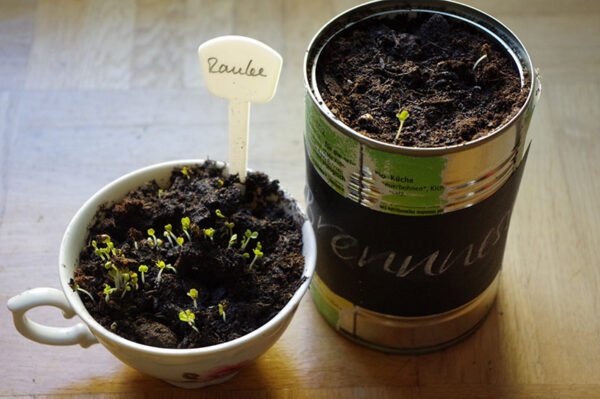
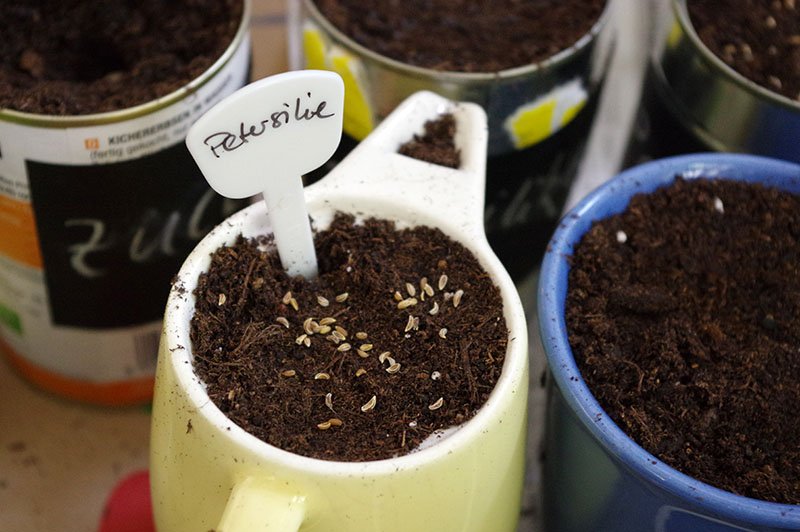
4. Old Cups: Charming Reuses for Compact Sowing
Old cups, such as chipped ceramic mugs or teacups gathering dust in your cabinets, make delightful pots for indoor herb seed starting. Their varied shapes add personality to your setup while repurposing items that might otherwise be discarded.
Choose sturdy old cups without cracks that could leak. Drill or poke several drainage holes in the bottom using a suitable tool like a ceramic drill bit for safety. Clean them thoroughly, fill with a light soil mix, and sow your herb seeds. Place on saucers to collect runoff water.
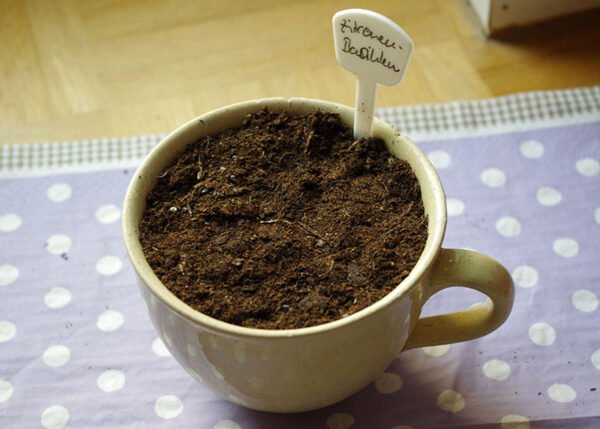
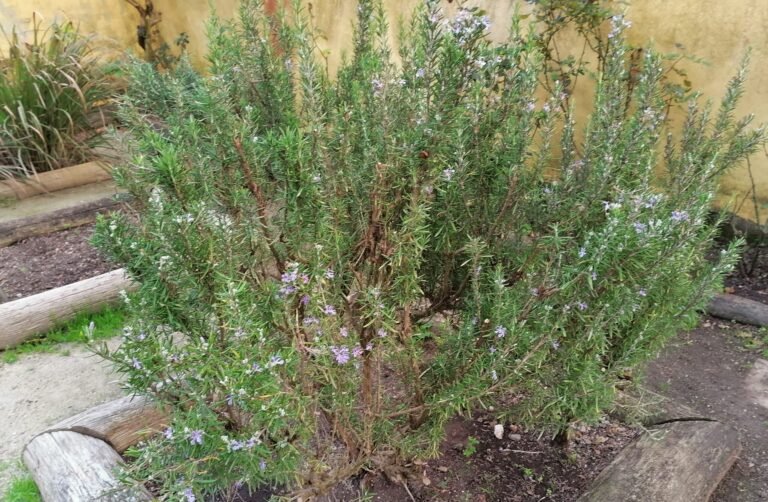
These work particularly well for single herb sowings, like lavender or oregano, and can be clustered on shelves for a cozy display. They’re reusable and bring a touch of whimsy to the process.
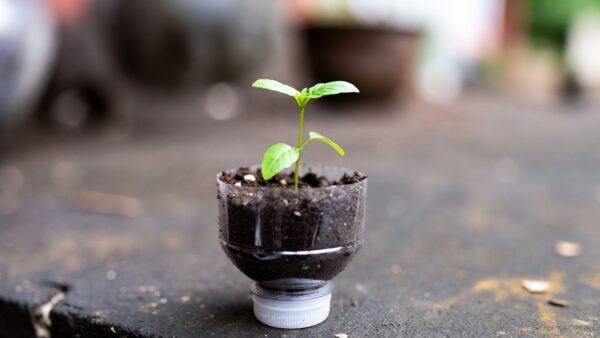
5. Plastic Bottles: Versatile and Self-Watering Options
Plastic bottles are abundant and can be transformed into effective pots for sowing herbs indoors, with the added benefit of creating self-watering systems to maintain consistent moisture.
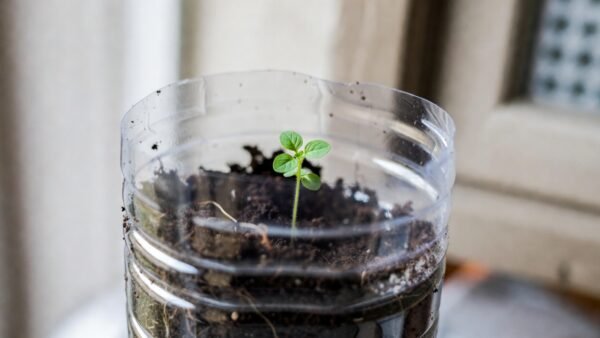
For a basic pot, cut the top third off a clean bottle, invert it into the bottom section to form a funnel, and poke drainage holes in the cap. Fill the upper part with soil and seeds, then add water to the lower reservoir for wicking. Alternatively, slice the bottle lengthwise to make a shallow tray for multiple sowings, ensuring holes along the base for drainage.
This approach works well for moisture-loving herbs, reducing the need for frequent watering in dry indoor environments.
Additional Recycled Ideas for Variety
Expand your options with items like cardboard tubes from paper towels, cut to size and filled for short-term sowing, or foam cartons from produce, punctured for drainage and used as multi-cell starters. Old yogurt containers also serve nicely when holes are added, offering compact spaces for individual herb seeds.
Essential Tips for Indoor Herb Sowing Success
Choose a sterile, lightweight soil blend to prevent issues during germination. Sow seeds shallowly—most herbs need light to sprout—so press them gently into the surface. Maintain temperatures around 70°F for optimal results, and use bottom watering to avoid displacing tiny seeds. Once sprouted, thin to the strongest seedling per pot and provide ample light to foster healthy growth.
With these pots, your indoor herb starts will thrive, leading to vibrant plants ready for larger homes. Enjoy the process of watching seeds transform.
For step-by-step visuals on similar projects, consider checking Instructables for user-shared guides.