Starting a Herb Garden in February
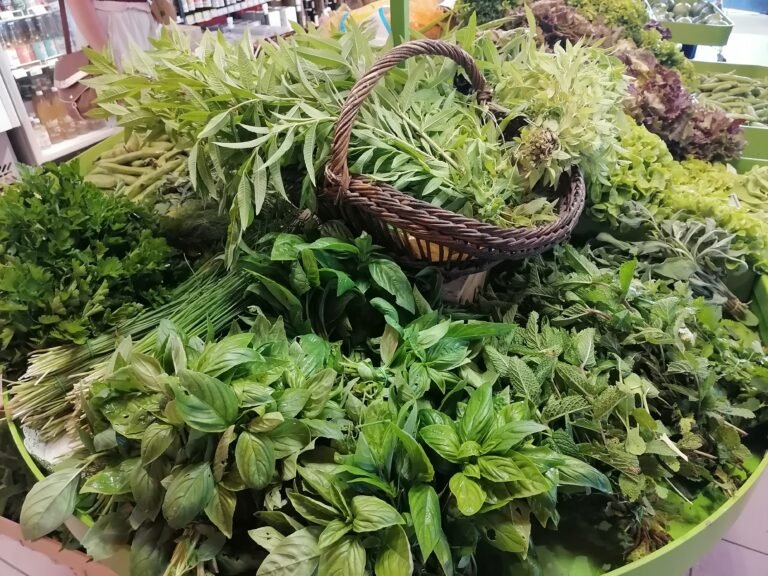
It’s the middle of winter, but I can’t wait to start tending and harvesting herbs from my own garden again. Since I just moved, the “garden” currently consists of a neglected patch of grass – though it’s home to some great wild herbs you can still eat even now (and honestly, they’re almost too good to dig up, so I’ll have to see how I solve that).
Still, now is the perfect time to carefully plan your herb garden and create a schedule for when to start sowing seeds indoors. I’m planning to grow some herbs inside and some outdoors, and I’ll be starting the first seeds as soon as possible. But before that, there’s a lot to consider and get organized.
Planning Your Herb Garden – What You Can Already Do Now
If you wait until spring to sow herbs outdoors after the risk of frost has passed, it can take a while before they’re large enough to harvest. In my experience, sometimes an entire growing season hasn’t been enough to get strong, healthy plants this way. That’s why it’s a great idea to start sowing earlier in a frost-protected place.
For all herbs you plan to move outside later, it’s worth creating a calendar to track the best time to sow them – starting too early can also be a problem.
Use the final winter weeks to make your own sowing calendar, craft small plant labels, choose the right containers, find high-quality organic seed-starting soil (especially for herbs), and order your seeds and any accessories like grow lights. Prepare your potting area and gather whatever else you need.
And don’t forget: the foundation of it all is planning your herb garden itself — figuring out which herbs you want to grow and in what quantities. That’s a perfect job for these cold months before you begin sowing.
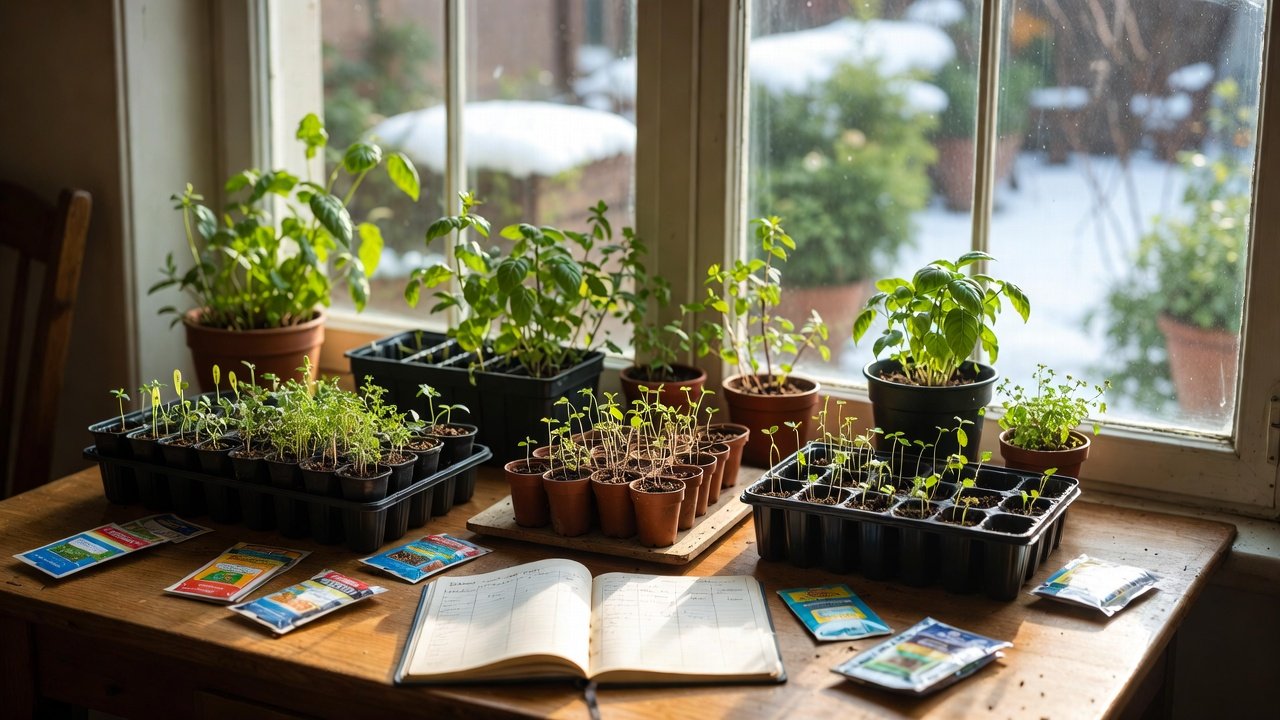
Starting Herbs Indoors or in a Greenhouse from Seed
Herb Pots
Only use clean pots or containers. There’s a wide range of options available, from mini flower pots to covered or self-watering mini greenhouses. It’s also a great chance to recycle old containers. Just make sure they have holes at or near the bottom to prevent waterlogging. Place a waterproof tray or outer pot underneath to catch excess moisture.
Tips for DIY Recycled Plant Containers
- Small cardboard cups with a hole in the bottom
- Handmade newspaper pots
- Cut sections of cardboard tubes (like from paper towels)
- Yogurt containers, tins, and other repurposed items — just make sure to add a drainage hole
Note: compartments from egg cartons or actual eggshells are too small.
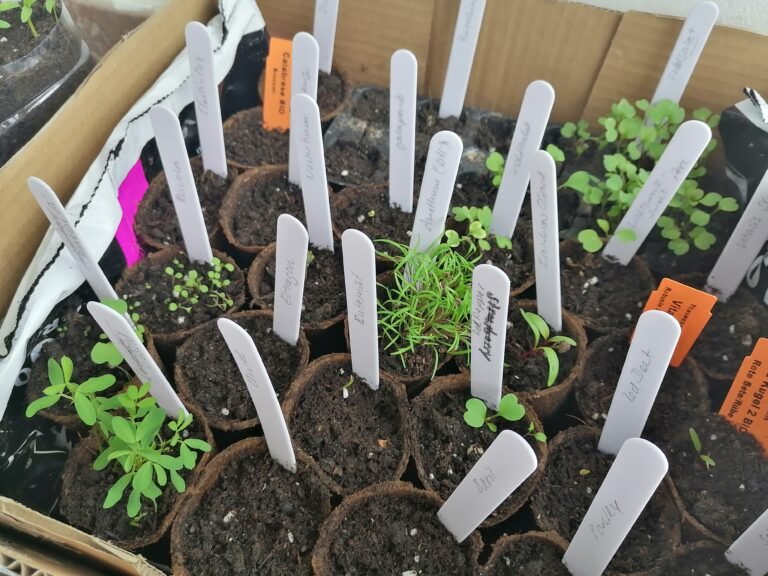
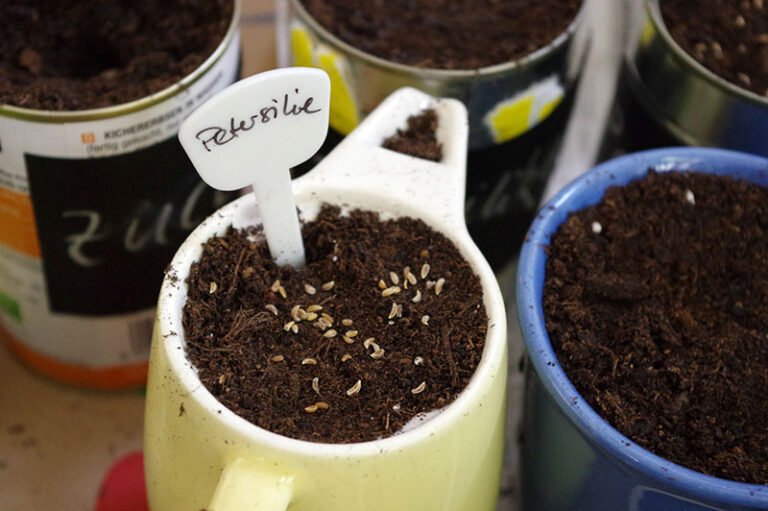
Labeling Your Herb Pots
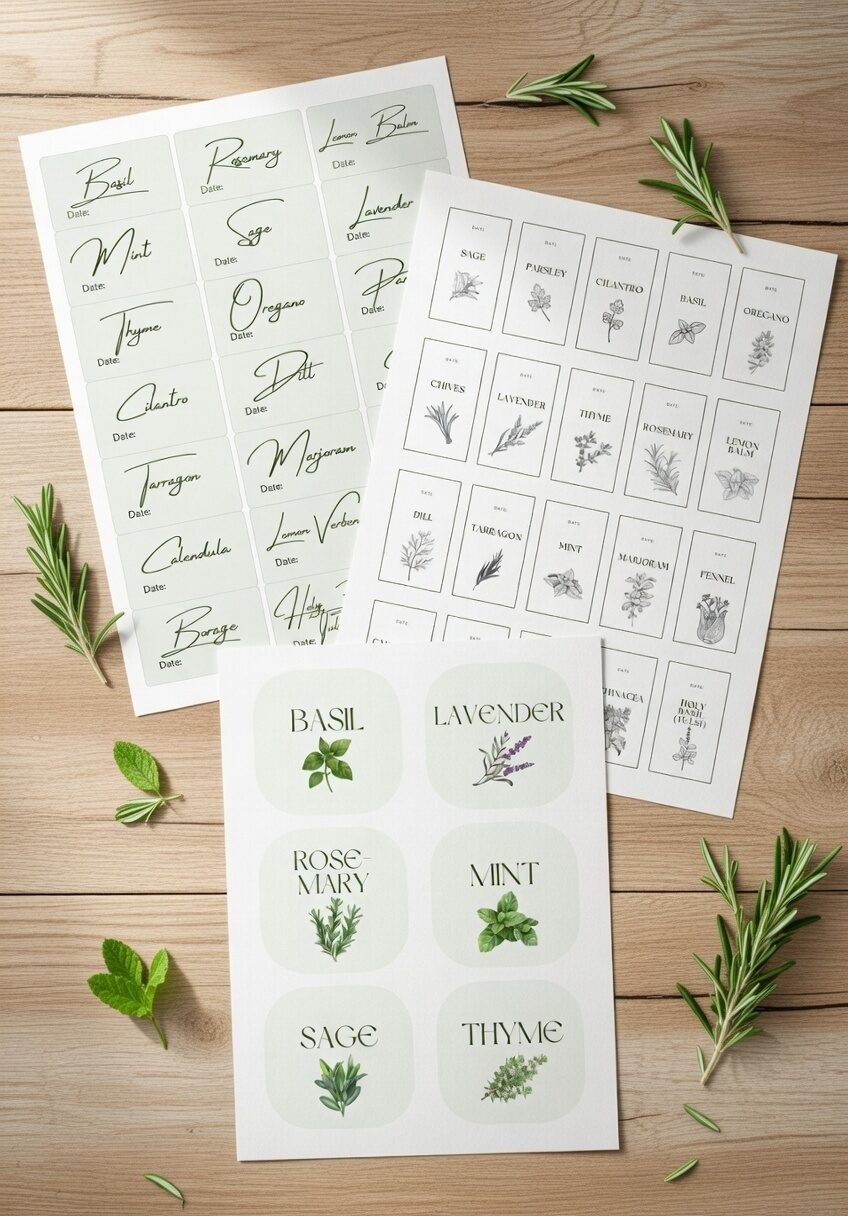
It might seem unnecessary, but trust me — always label your pots ahead of time with a waterproof pen. It’s easy to forget what you’ve planted where, especially when seeds look alike and the sprouts are still tiny and hard to tell apart. If you use a tray with multiple compartments or a mini greenhouse, you’ll need insertable labels. These can be homemade — little flags from paper and toothpicks, or popsicle sticks. Of course, you can also buy ready-made plant tags.
You can buy and directly download over 20 herb label designs here. They printable PDF contains 20 styles of herb labels in different sizes and styles as well as blank ones for your own herb names, and also DIY templates for little seed envelopes, and a herb (seedling) tracker.
The Soil
Never use garden soil from outside in your indoor pots. And don’t use regular potting soil for starting herbs, either. Fill your containers with special seed-starting soil, ideally one tailored for herbs. It shouldn’t contain heavy fertilizer, which would burn the delicate seedlings. Coconut pellets are an option, but I personally have had better results with soil. Best is a high-quality organic seed mix from a bio nursery — it helps young plants develop strong roots and fits a vegan, eco-friendly lifestyle.
Plants bought from conventional nurseries often fail at home because they’ve been forced to grow quickly and haven’t developed enough strength.
Fill your containers loosely to the top, tap the soil down gently, then add more soil without compacting it. Leave about 2 cm of space at the top. Follow the instructions on your seed packet for how deep to sow the seeds, then gently moisten the soil. You can usually plant up to three seeds per pot or cell — for large seeds like pumpkin, only one.
Many experienced herb gardeners say that what you put on top matters most: vermiculite, a mineral that helps retain moisture and oxygen in the soil.
Sowing the Herbs
Pick the largest and best-looking seeds from the packet. Press them into the soil as directed. Most herbs are sown on the surface and just lightly pressed in. Others need to be embedded about 2 cm deep – you can use the blunt end of a pencil to make a small hole.
Cover the containers with plastic wrap if you’re not using a mini greenhouse. Poke small holes in the wrap with a toothpick. Once the seeds are in the soil, water gently. Seeds must be kept moist but not wet. Always keep an eye on moisture levels. Some people use pipettes for more control.
Temperature
Sprouts thrive best at 18 to 24°C. Choose a warm, stable spot – on top of the fridge is a good option. You can also buy special plant heating mats.
Once the sprouts appear, remove the cover (or wait until they’re tall enough to touch it) and place them in the brightest spot in your home.
Light
As soon as the seedlings emerge, they need light for energy. Natural light from a window is often not enough. It’s best to use an extra light source – fluorescent bulbs or LED grow lights. These can be regular screw-in bulbs or special hanging lamps with red and blue light spectrums. Aim for 12 to 14 hours of extra light per day, and place the lights as close to the plants as possible.
Transplanting
When the young plants develop a second pair of leaves, prepare individual pots filled with herb soil and rich compost. Gently move the plants into their new containers and continue watering well. Right after transplanting, avoid full sun until they’ve adjusted.
Use a Digital Herb Tracker
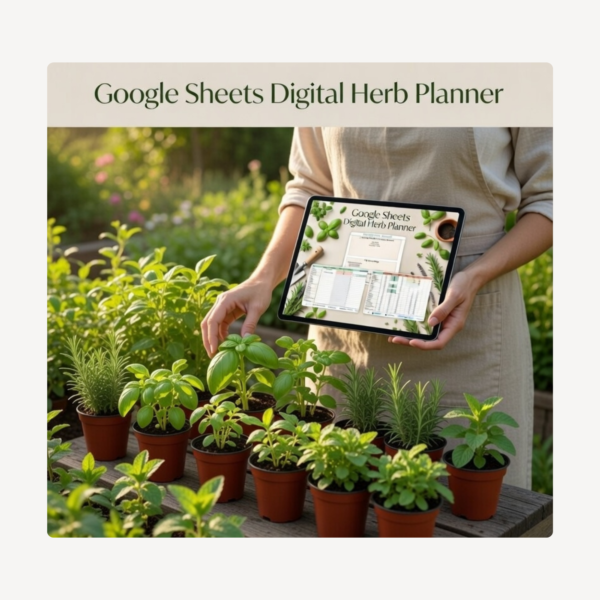
To make indoor herb sowing even easier, I created a dedicated 2026 Herb Sowing Planner in Google Sheets that keeps everything organized in one place. It includes a 30-herb library with sowing times, germination info, and care requirements, plus a sowing log that auto-calculates days to germination and harvest from the date you enter. There’s also a harvest tracker, seed inventory, and a monthly sowing calendar – all driven by your last frost date so the timing suggestions are tailored to your climate zone.
Whether you’re starting your first windowsill herb garden or juggling a dozen varieties at once, this planner takes the guesswork out of what to sow and when. It works on desktop and mobile, and you can reuse it every year.
You can buy and get direct access to the 2026 Herb Sowing Planner here.
The Plan: Starting Herbs Indoors
A general rule: start seeds indoors six weeks before the last expected frost. Some varieties need pre-treatment like soaking or chilling – check your seed packets.
Your exact sowing dates depend on your climate, whether you have a greenhouse, and other conditions. The best way to start is by researching your area’s last frost date and working backward to build a calendar.
Sort your seeds into two piles: those that need to be started indoors and those that can be sown directly outdoors later. But keep in mind — I haven’t had great luck with direct sowing for most herbs (except calendula).
Examples:
Calendula, basil – 6 weeks before last frost
Oregano, chamomile – 10 weeks before
Peppers – 9 weeks before
Sage – 8 weeks before
Sort your seed packets by how many weeks before transplanting they should be sown, and group them with rubber bands. If a packet only tells you how long germination takes, add that time to your calculation.
Note: If your sowing area is on the cool side, start a little earlier. If you’re using a heated greenhouse, you can start a little later. You don’t want plants that are either too small or too big when it’s time to go outside. Temperature and light are the most important growth factors.
For next year: take notes on which varieties worked well, exact timing, and where you got them.
Good luck!